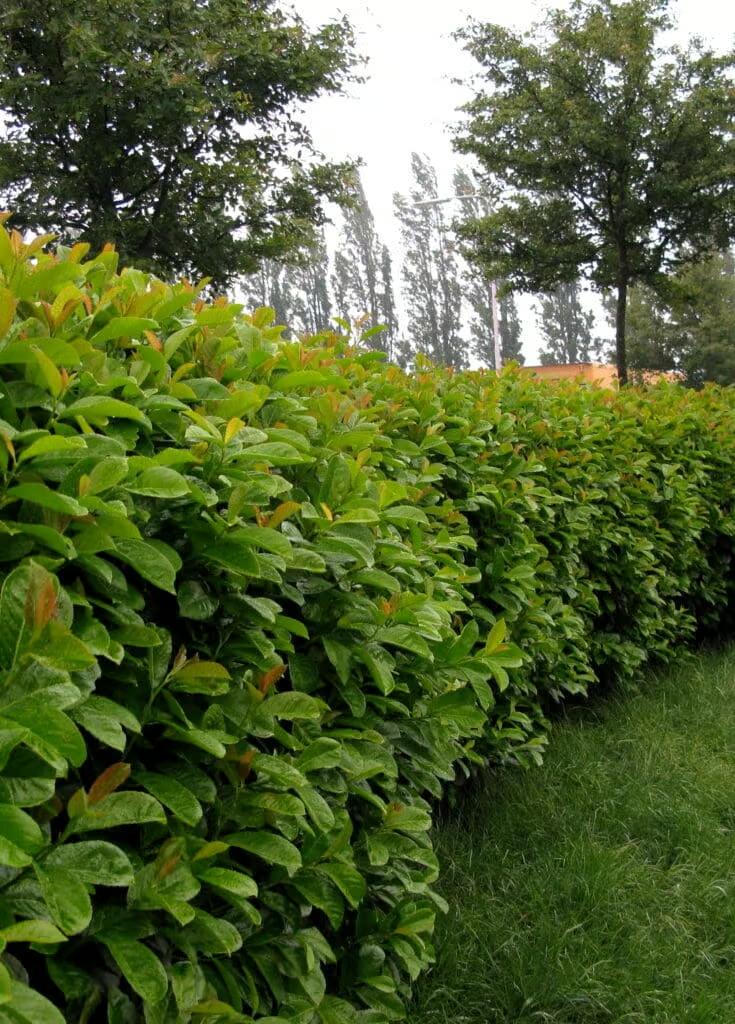
A hedge isn’t just a beautiful boundary for your property—it’s also a great way to create privacy and give your garden a natural look. Whether you have a small garden or a large property, planting a hedge can greatly enhance the aesthetics of your outdoor space. In this comprehensive step-by-step guide, we’ll show you how to plant a hedge that will grow healthy and dense in four easy steps.
1. Determine the location of the hedge
The first step in planting a hedge is choosing the right location. Take the time to think carefully about where you want to plant the hedge. Consider factors such as the available space, the amount of sunlight, and soil health. The ideal spot for a hedge is one where the plants have enough room to grow.
Mark the location
Drive two stakes into the ground at the starting and ending points. Then stretch a string between the stakes to create a straight line. This will help you dig the trench in a straight line.
The height and width
Consider the final height and width of the hedge. Adjust your choice of plant species and the number of plants per linear meter accordingly.
2. Dig a trench
Proper soil preparation is crucial to the success of your hedge. The trench you dig must be wide and deep enough to provide ample space for the plants' root balls.
Dimensions of the trench
Make sure the trench is at least 5 cm wider and deeper than the plant’s root ball. For example, if you’ve ordered hedge plants with a root ball that’s 25 cm high and 30 cm wide, dig a trench that’s 30 cm deep and 40 cm wide.
Improve the Soil
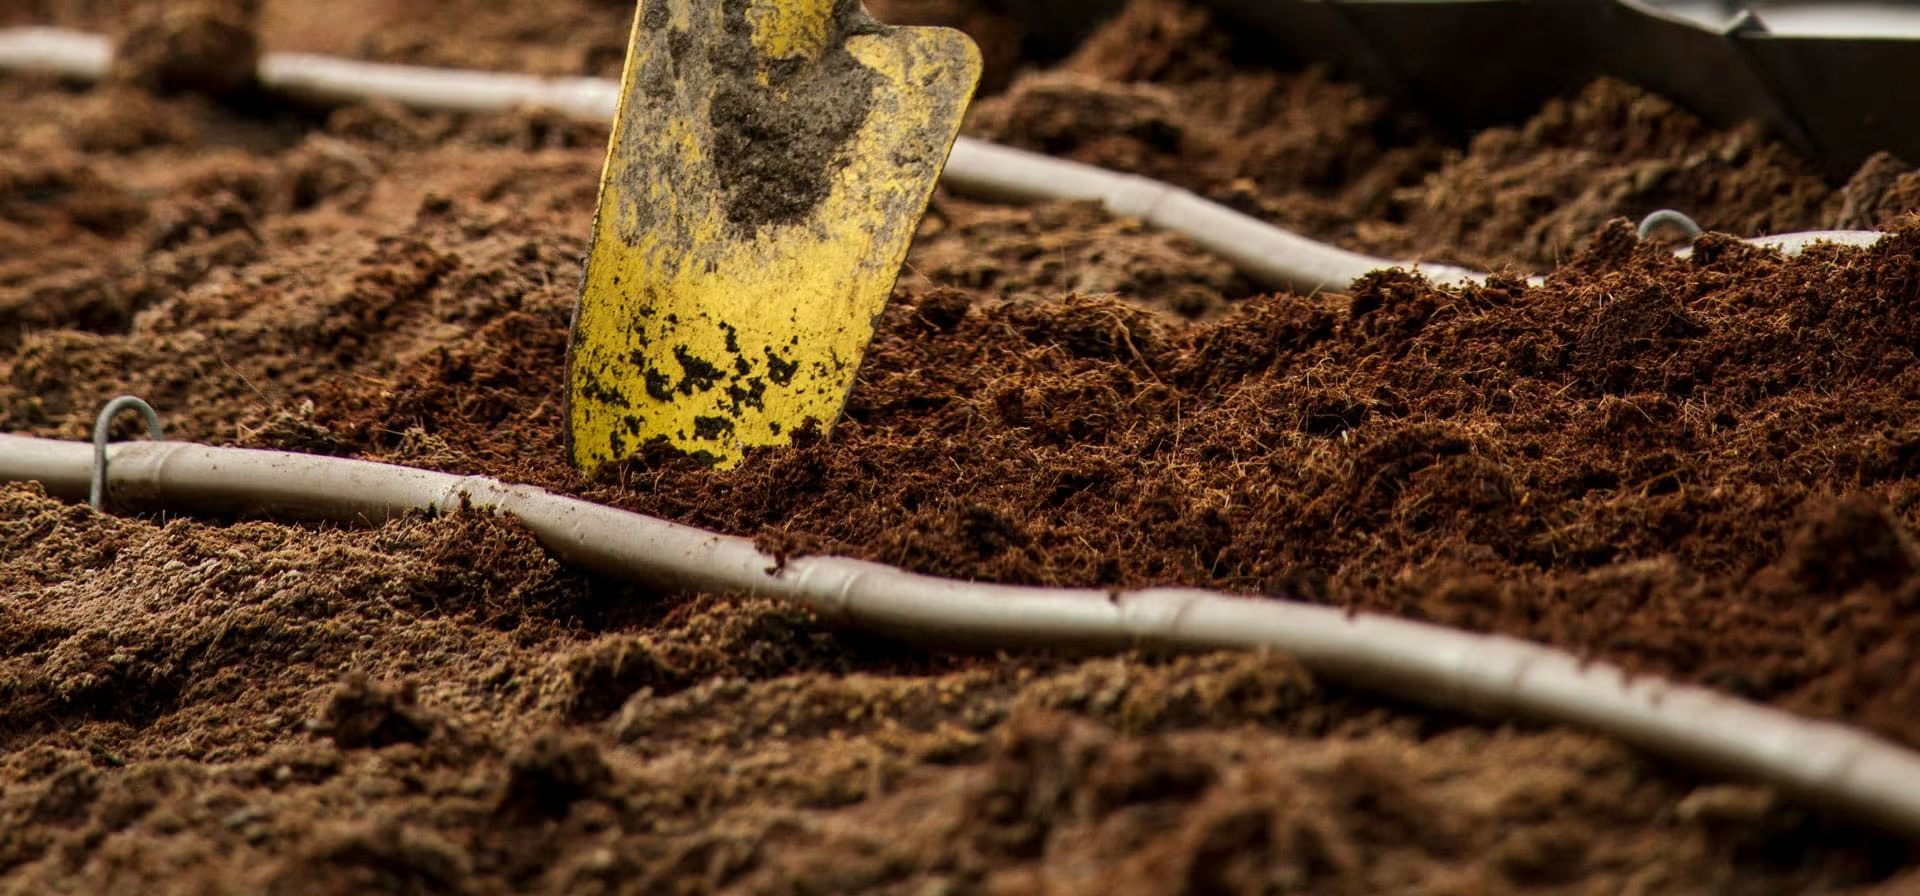
Turn over the soil at the bottom of the trench so that it drains well. This is essential for the health of your hedge plants. Mix the turned soil with Culvita Organic Planting Soil—about 10 liters per linear meter. This creates a nutrient-rich transition layer that helps the hedge plants develop and grow initially.
3. Plant the hedge
Now comes the best part: planting the hedge! Follow these steps for a successful planting:
Place the plants
Plant the hedge plants in the trench at the correct distance from each other. This depends on the type of plant you have chosen. Leave enough space so that the plants can grow in the future without getting in each other's way.
Fill the trench
Use some of the excavated soil to fill in the trench. Gently press the soil down with your foot around the plants to create a firm base.
Make sure there is a pouring rim
Be sure to create a watering rim by making the soil slightly lower around the plants. This helps retain water better, ensuring the plants get enough moisture.
4. Give them (plenty of) water
After planting the hedge, it is crucial to water the plants thoroughly. This is an important step that is often overlooked.
Watering
During the summer and dry periods, we recommend watering each plant 10 liters per week. It’s best to spread this out over 2 or 3 sessions. Using a drip hose is the most effective way to do this. Thanks to the watering rim, the water stays around the plant’s root ball and can soak into the soil more effectively.
Aftercare
If the soil in the trench settles a bit after watering, you can fill it in with the remaining soil. Be sure to keep the watering rim intact so that the water continues to flow properly.
Keep watering regularly
After a week, it’s important to water the hedge again. Especially during dry periods, you should water the hedge every week during its first year after planting, both in the spring and in the summer. In the fall and winter, this is less necessary, as there is usually enough rainfall.
Important Tips for Planting a Hedge
Plant the hedge as soon as possible
Be sure to plant the hedge plants as soon as possible after you receive them. This prevents a loss of quality and helps the plants adapt quickly to their new environment.
Care During the Waiting Period
Between the time you receive them and the time you plant them, the hedge plants also need care. Make sure they are kept in a cool, shady spot and watered regularly.
Choose the right plants for your garden
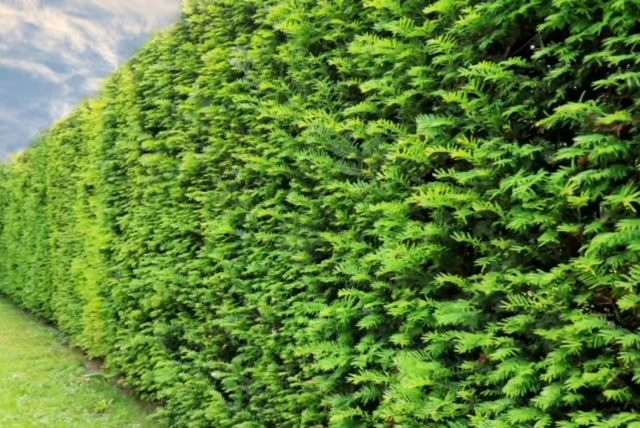
Depending on the location and purpose of your hedge, there are various types of hedge plants available. Consider species such as bay laurel, yew, or photinia. Be sure to research the characteristics of these plants thoroughly so you can make a choice that suits your garden.
Frequently Asked Questions About Planting a Hedge
When is the best time to plant a hedge?
The best time to plant a hedge is in the spring or fall. That's when weather conditions are ideal for planting and growth.
How can I care for my hedge?
In addition to watering, it's important to prune your hedge regularly to encourage beautiful, full growth. This also helps keep the plants healthy.
What should I do if my hedge isn't growing well?
If you notice that your hedge isn't growing well, check the soil conditions and watering. Sometimes it can help to conduct a soil test or consult a specialist.
With these steps and tips, you'll be well prepared to plant a beautiful hedge that will last for years. If you have any further questions or need advice, feel free to contact us at any time:
- Phone: +31 (0)6 57 95 94 00
- Email: info@stanverwaaijhaagplanten.nl
By giving your hedge the right care and attention, you can create a beautiful green barrier that will make your garden even more attractive. Good luck planting your hedge!
 Stan Verwaaij